VSTS
Lately I have been very impressed by Visual Studio Team Services. Working in this environment is really a breeze and having build agents in the cloud makes development and setting up a build or release pipeline really easy. This blogpost however will dive into using VSTS build with Javascript BDD testing. The ammount of options and frameworks surrounding this can be a bit overwhelming and so this blogpost might give some guidance on how you can set it up.
What do you mean BDD?
By BDD testing I mean specifying your tests in a Gherking style like this
Scenario: A bottle falls from the wall
Given 100 green bottles are standing on the wall
When 1 green bottle accidentally falls
Then there are 99 green bottles standing on the wall
Using a Gherkin syntax provides an exta abstraction layer over more direct style unit-testing frameworks like Mocha or Jasmine. Here a non-developer could provide extra scenario's and the scenario's are pretty readable.
What are we building?
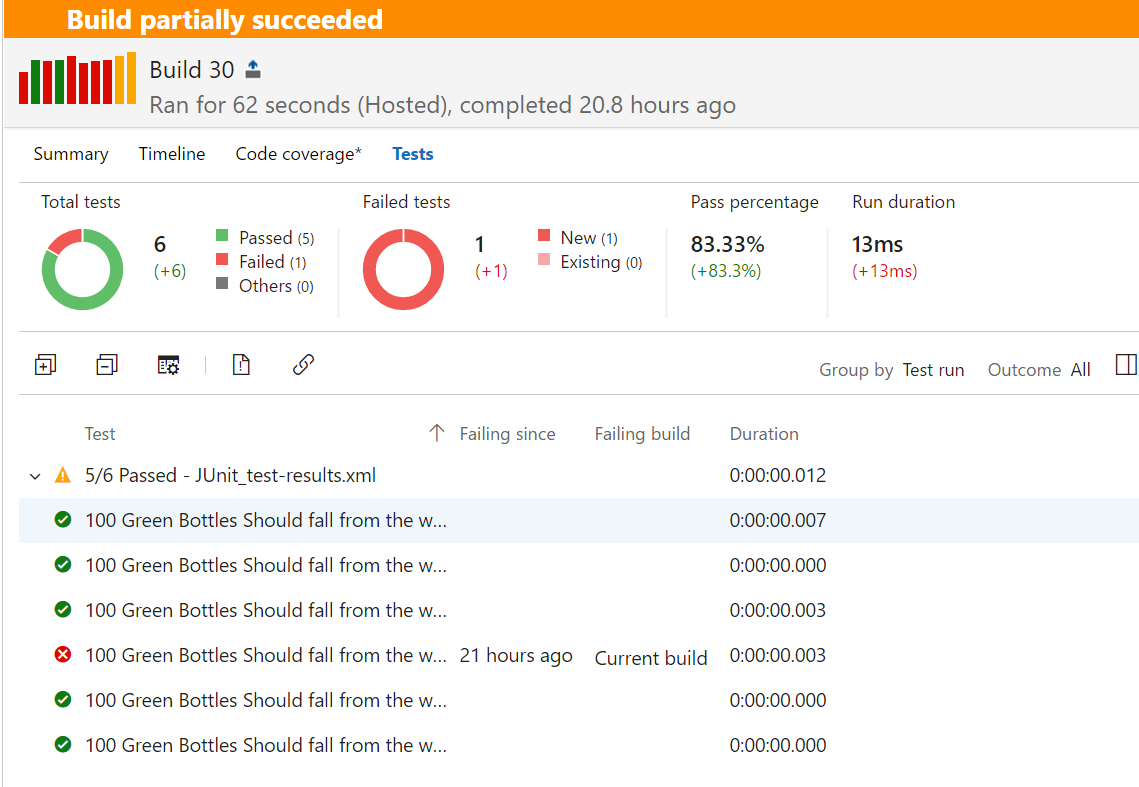
We want to be able to run our javascript BDD tests on Visual Studio Team Services and integrate the test results in our build. We want to see the results in the test tab of our build results.
What do you need?
NodeJS
First of all you need to install Node.js for running javascript code and downloading javascript packages. Download it here. Once you have Node.js installed you should be able to run npm (Node Package Manager) from the command line. NPM provides an easy way to install javascript modules and dependencies of these modules automatically. If you have never used npm you should read up here.
Mocha
Now you have installed npm the next step is creating a folder that will be the base folder for our development. In this folder we will initialize npm so npm creates a config file called package.json keeping track of our required modules. So open a command prompt to create a folder and initialize npm.
mkdir bddjavascript
cd bddjavascript
npm init (press enter a few times on all the questions)
Next we need to install Mocha. Mocha is a javascript framework that will let us write tests. To install Mocha we use npm again
npm install --save-dev mocha
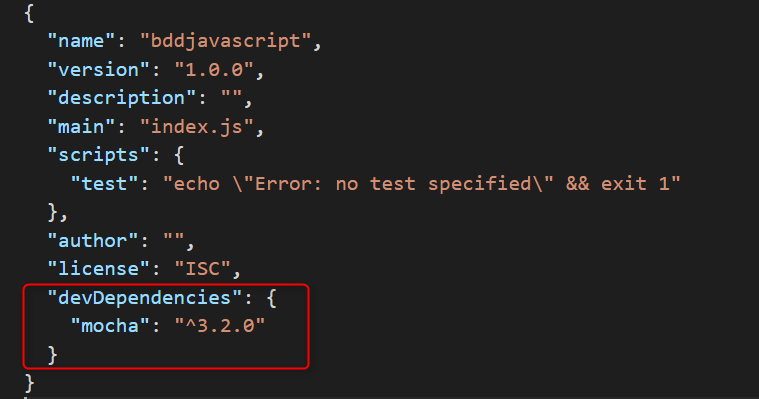
As you can see we now have a "devDependency" on Mocha. This means that if run "npm install" on this folder without parameters Mocha will be installed again. Mocha itself was installed in the node_modules folder along with it's depencies.
Running our first test
Now we have Mocha installed we should verify that it works correct. Create a folder called test in the root of our project (next to packaga.json) and create a file in that folder called test.js with the following contents:
var assert = require('assert');
describe('Array', function() {
describe('#indexOf()', function() {
it('should return -1 when the value is not present', function() {
assert.equal(-1, [1,2,3].indexOf(4));
});
});
});
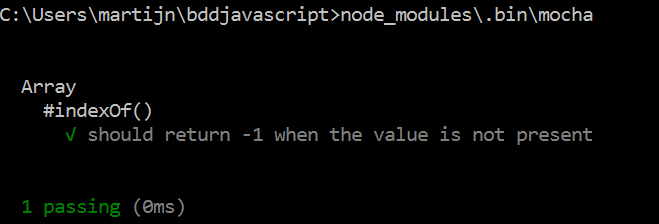
To run this test we use mocha from the command line.
node_modules\.bin\mocha
And you should see the test pass.
Yadda Yadda Yadda
Next we can add the BDD layer by installing Yadda. In the console we use npm again
npm install yadda --save-dev
Now we have Yadda we need a few more files to get it all working. Yadda requires a feature file with our scenario('s), a file implementing the steps and normally an object under test. For the object under test we'll use a regular javascript array so we don't need a file for that. In our test folder we create a features folder.
mkdir features
In this folder create a file called "array.feature" containing:
Given I have an array of 2 elements
When I add an element
Then my array contains 3 elements
Next to features folder create a steps folder with a array-steps.js file containing
var assert = require('assert');
var English = require('yadda').localisation.English;
module.exports = (function() {
return English.library()
.given("I have an array of $NUM elements", function(number, next) {
array = new Array(parseInt(number));
next();
})
.when("I add $NUM element", function(number, next) {
array.push("hi");
next();
})
.then("my array contains $NUM elements", function(number, next) {
assert.equal(parseInt(number), array.length);
next();
});
})();
Now we only need a main entry point for running the feature file. Create a file called yadda-test.js in the root of your project
var Yadda = require('yadda');
Yadda.plugins.mocha.StepLevelPlugin.init();
new Yadda.FeatureFileSearch('./test/features').each(function(file) {
featureFile(file, function(feature) {
var library = require('./test/steps/array-steps');
var yadda = Yadda.createInstance(library);
scenarios(feature.scenarios, function(scenario) {
steps(scenario.steps, function(step, done) {
yadda.run(step, done);
});
});
});
});
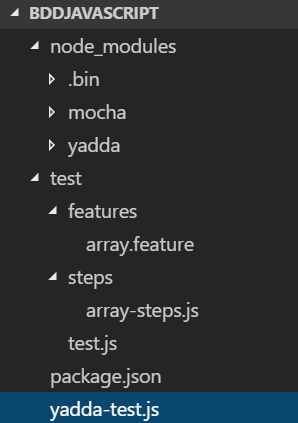
Your project structure should resemble this
Running yadda can be done from the command line using
node_modules\.bin\mocha yadda-test.js
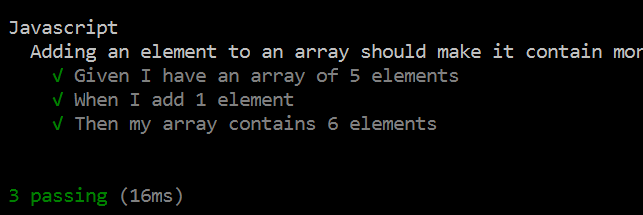
And you should see the tests pass
Running in build proces
Finally we need to run the tests as part of our build proces.